PiKVM review - How to Control Your PC or Laptop remotely
A PiKVM review. A device to control any PC remotely. A dream for every home labber and people who work as admins against their will.

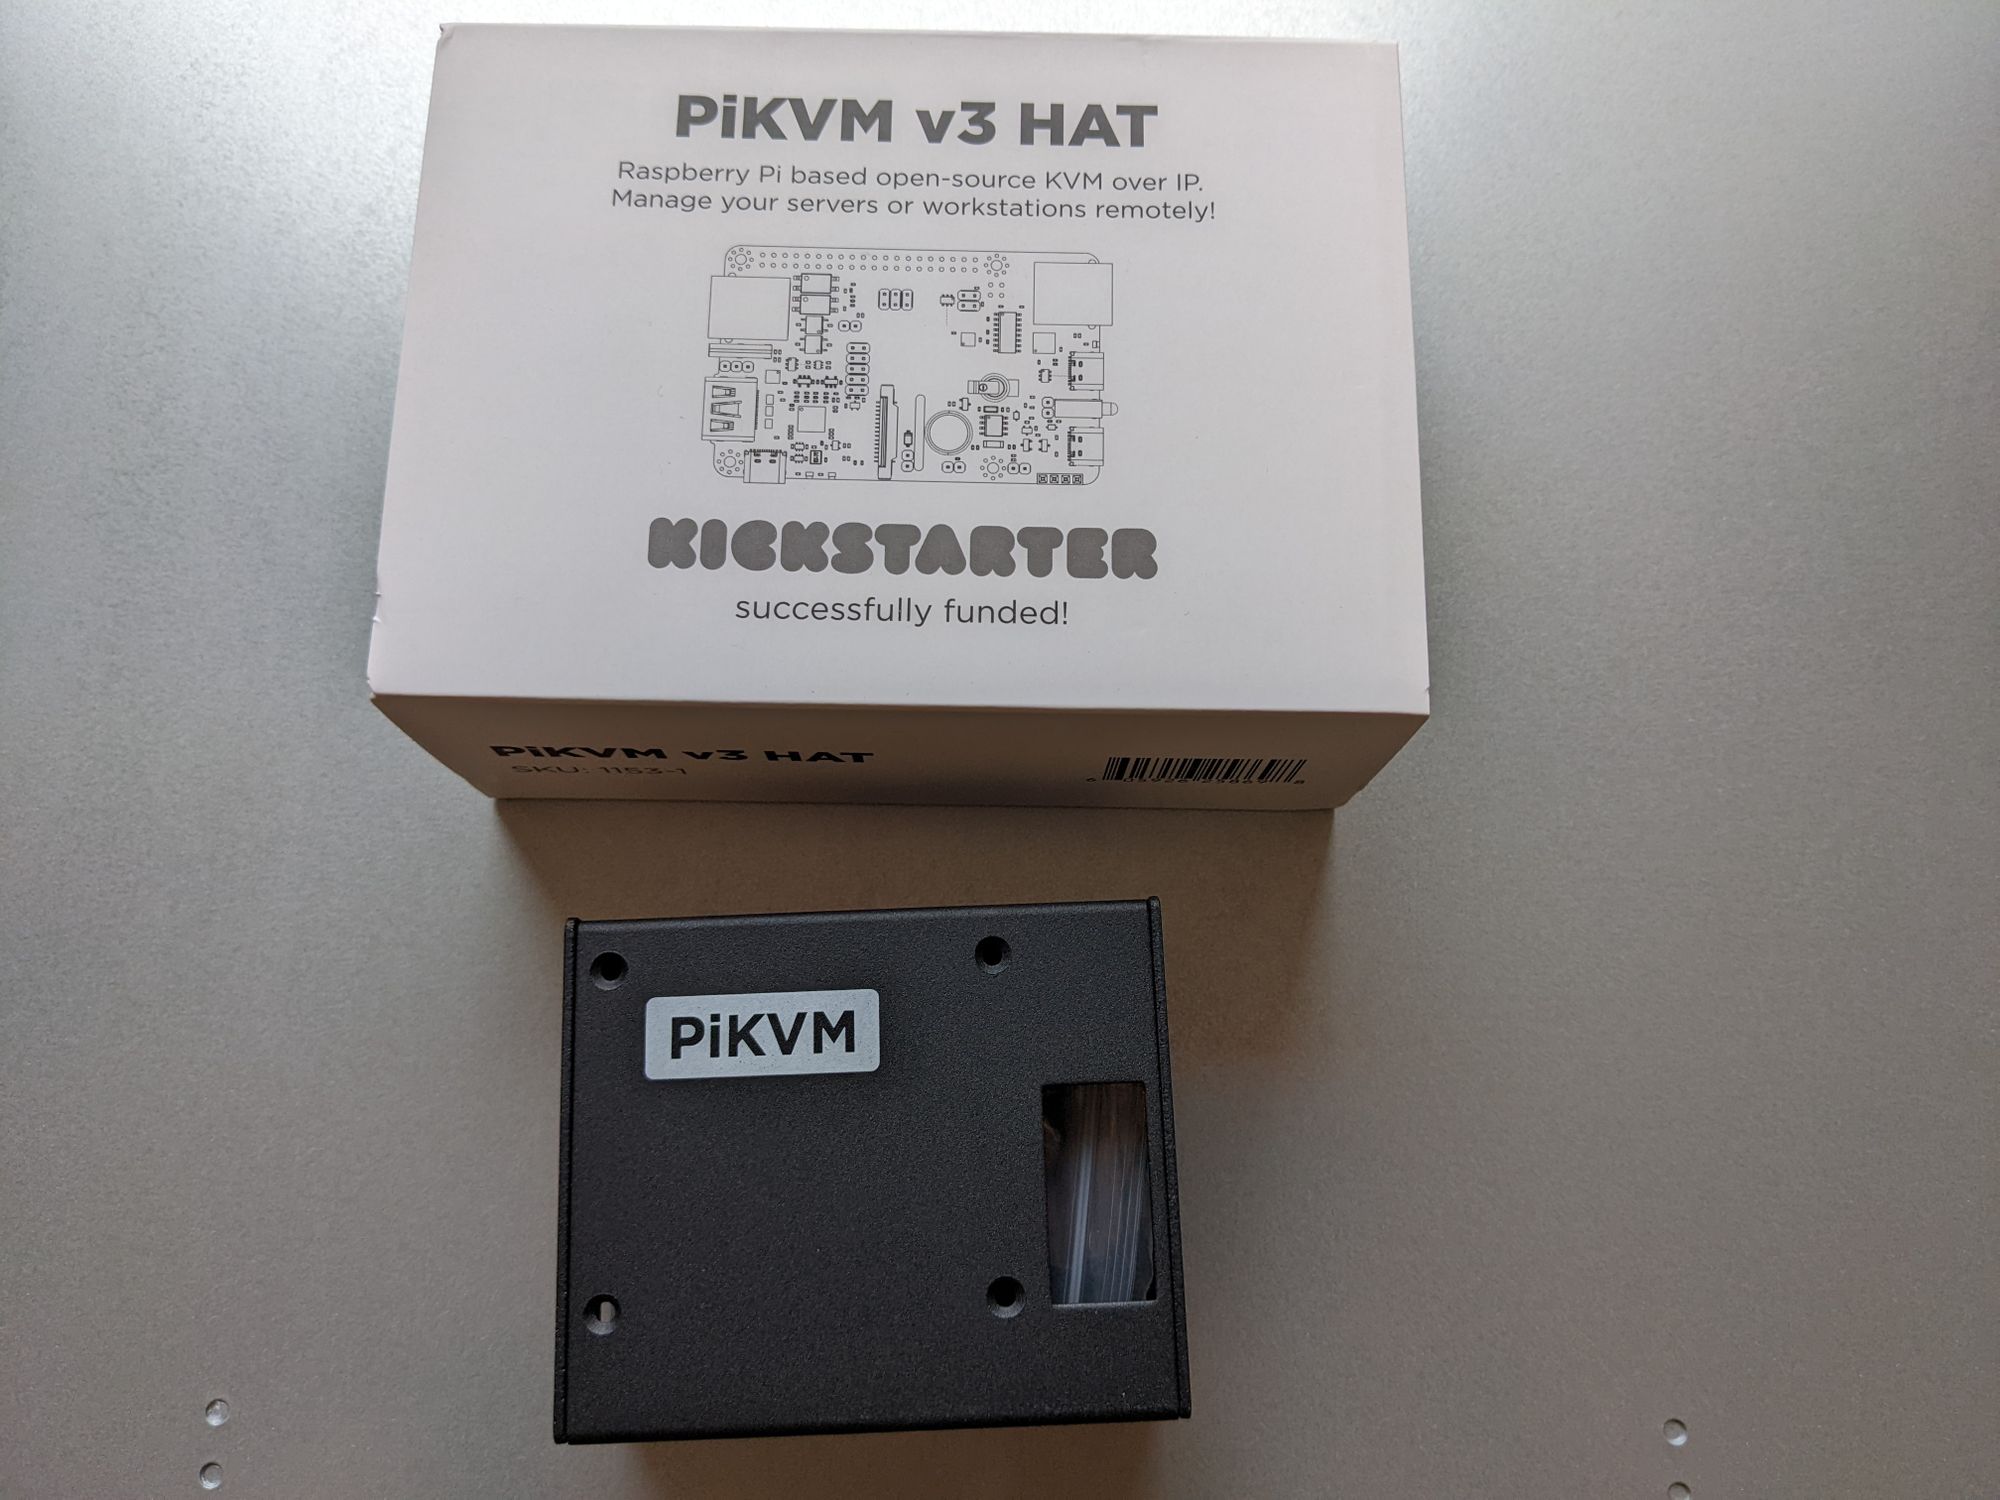
I backed the PiKVM Kickstarter a few months back. When they announced that device I was really excited to finally get something like this in an affordable price range.
But first:
What is a KVM?
KVM stands for Keyboard Video Mouse. You can manage a PC/server remotely, like:
- Power on your PC
- Power off your PC
- Reset your PC (after a hard freeze)
- Enter the BIOS/UEFI
- perform BIOS upgrades
- actually control the PC via virtual mouse, keyboard, and display as you were physically in front of the PC but you do that over a network connection
It is necessary since the admin might not be in physical proximity of the hardware. Supermicro has IMPI, DEll has iDrac and I am sure there are other names as well. But motherboards with these features tend to be more expensive.
There are also standalone KVMs, but these things are expensive. We are talking >500 €.
Enter the PiKVM
As I wrote earlier, I was really excited about the PiKVM when I first heard about it. It is a DIY KVM build on top of a Rasperry Pi. You can actually DIY this completely on your own. Have a look at that option on the PiKVM website.
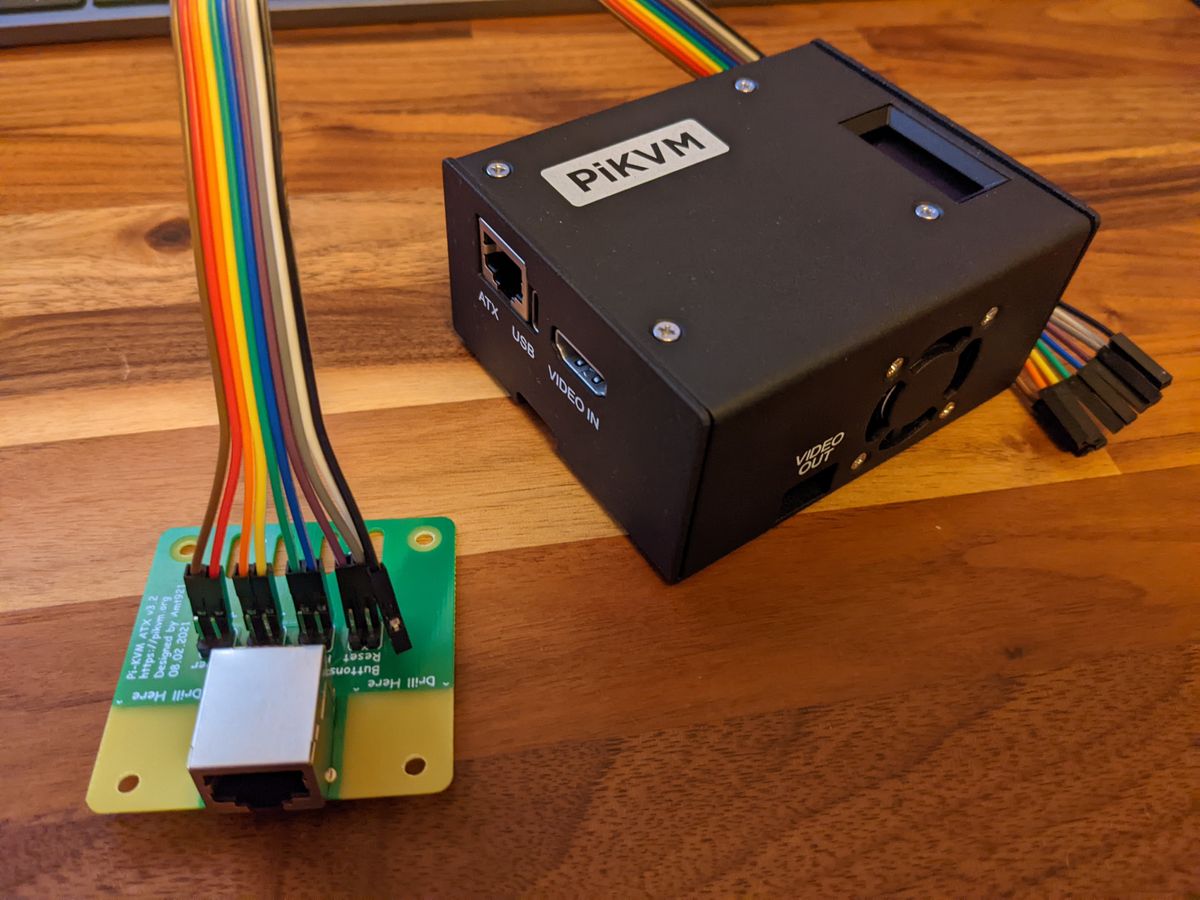
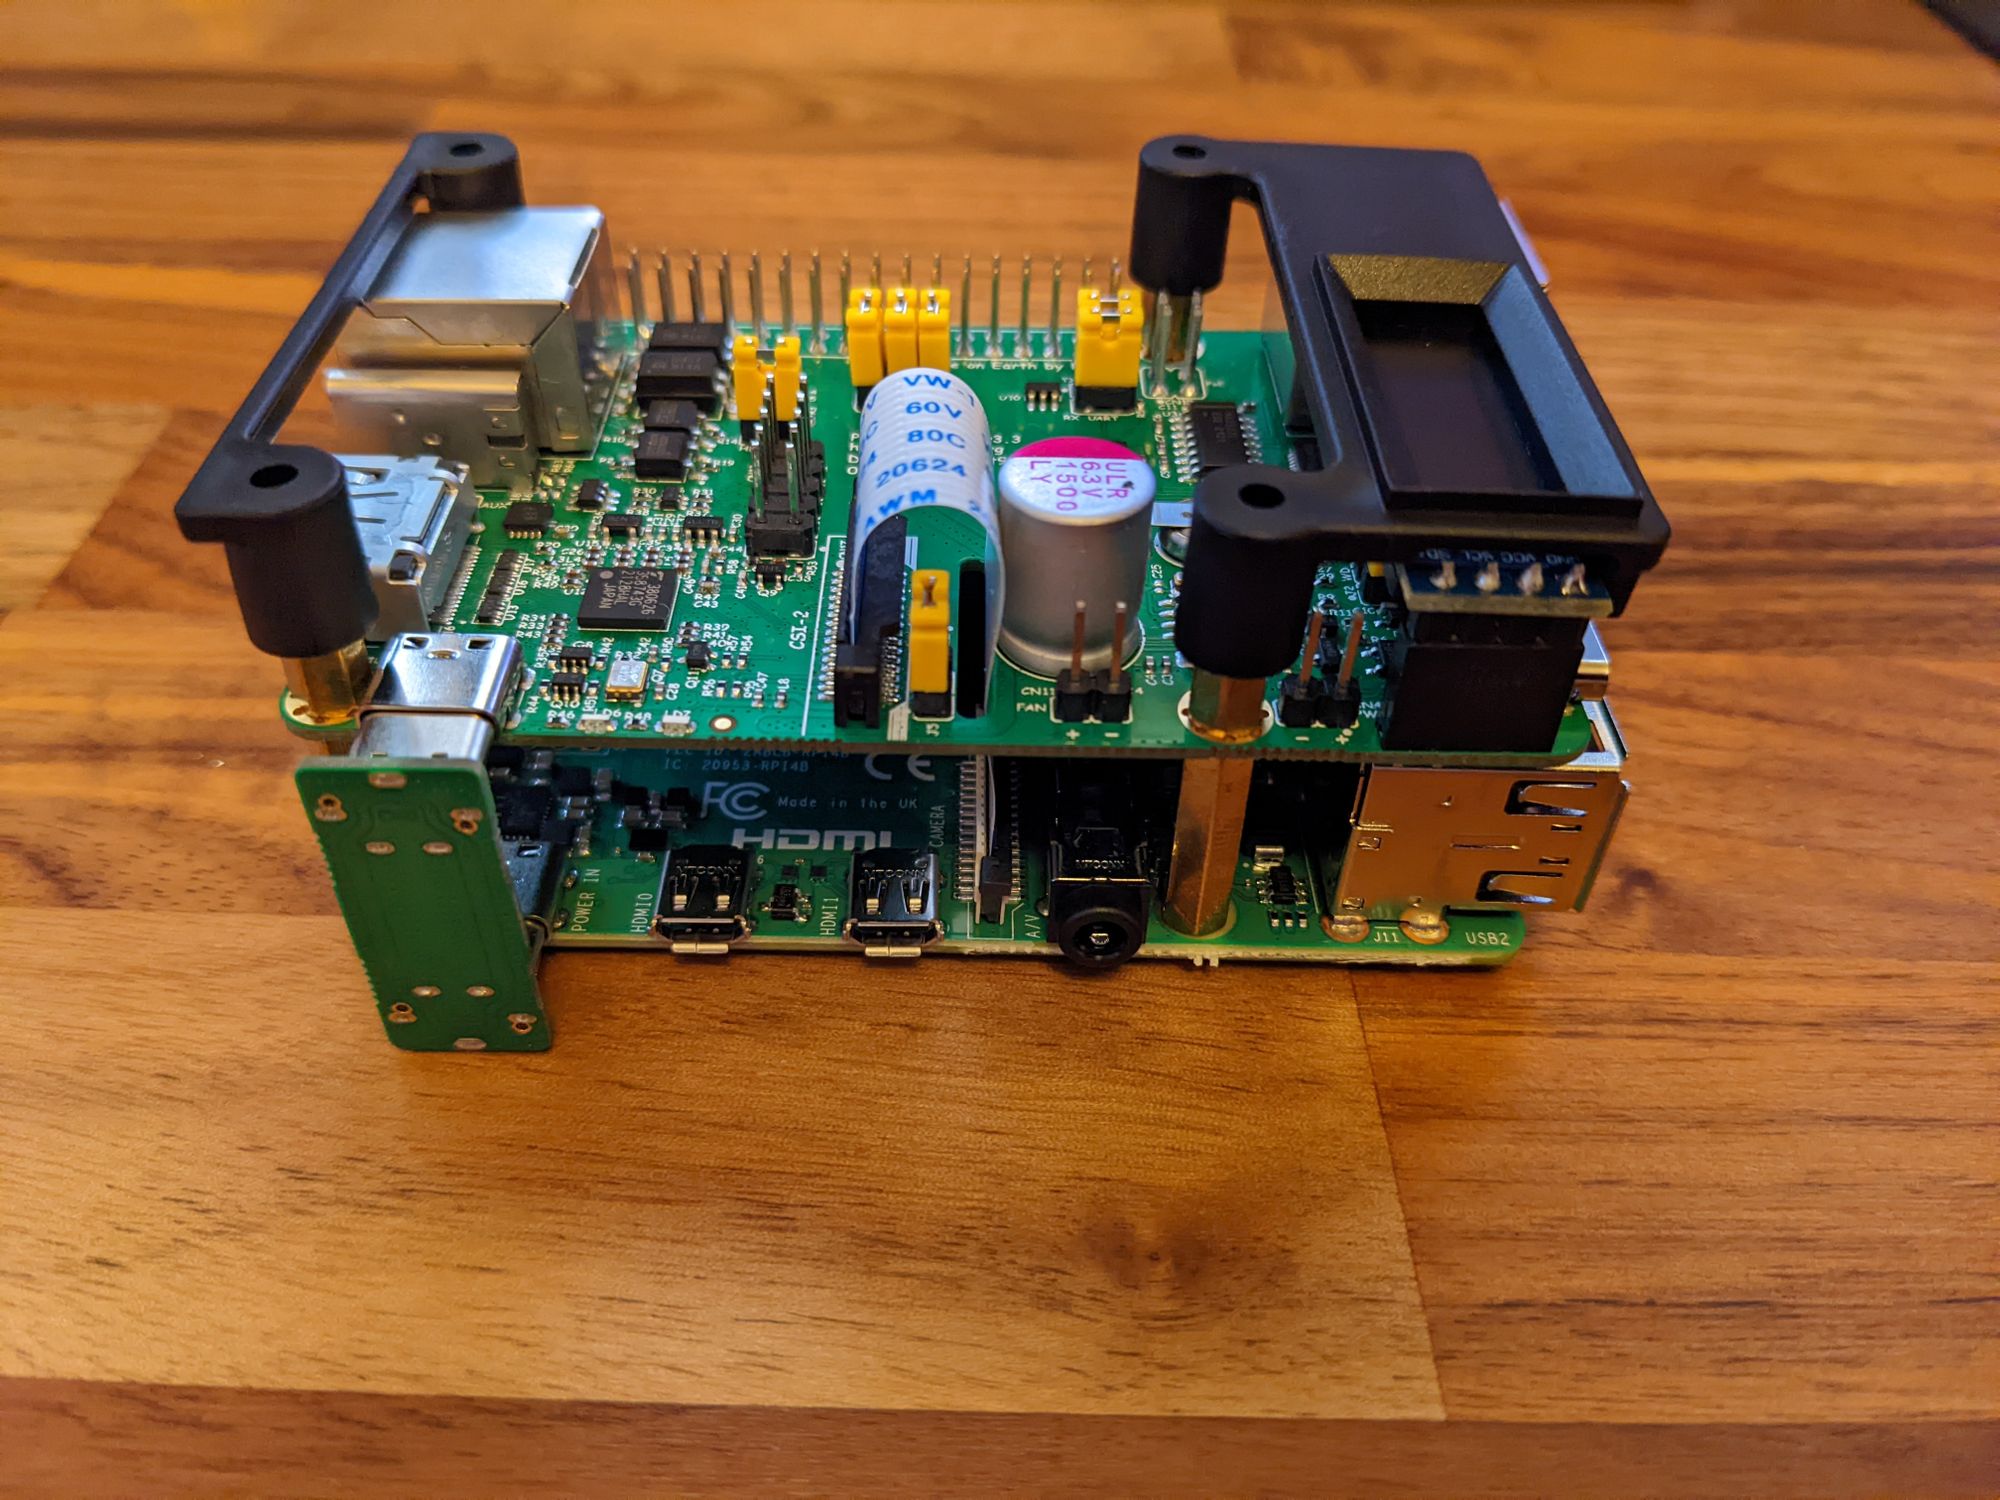
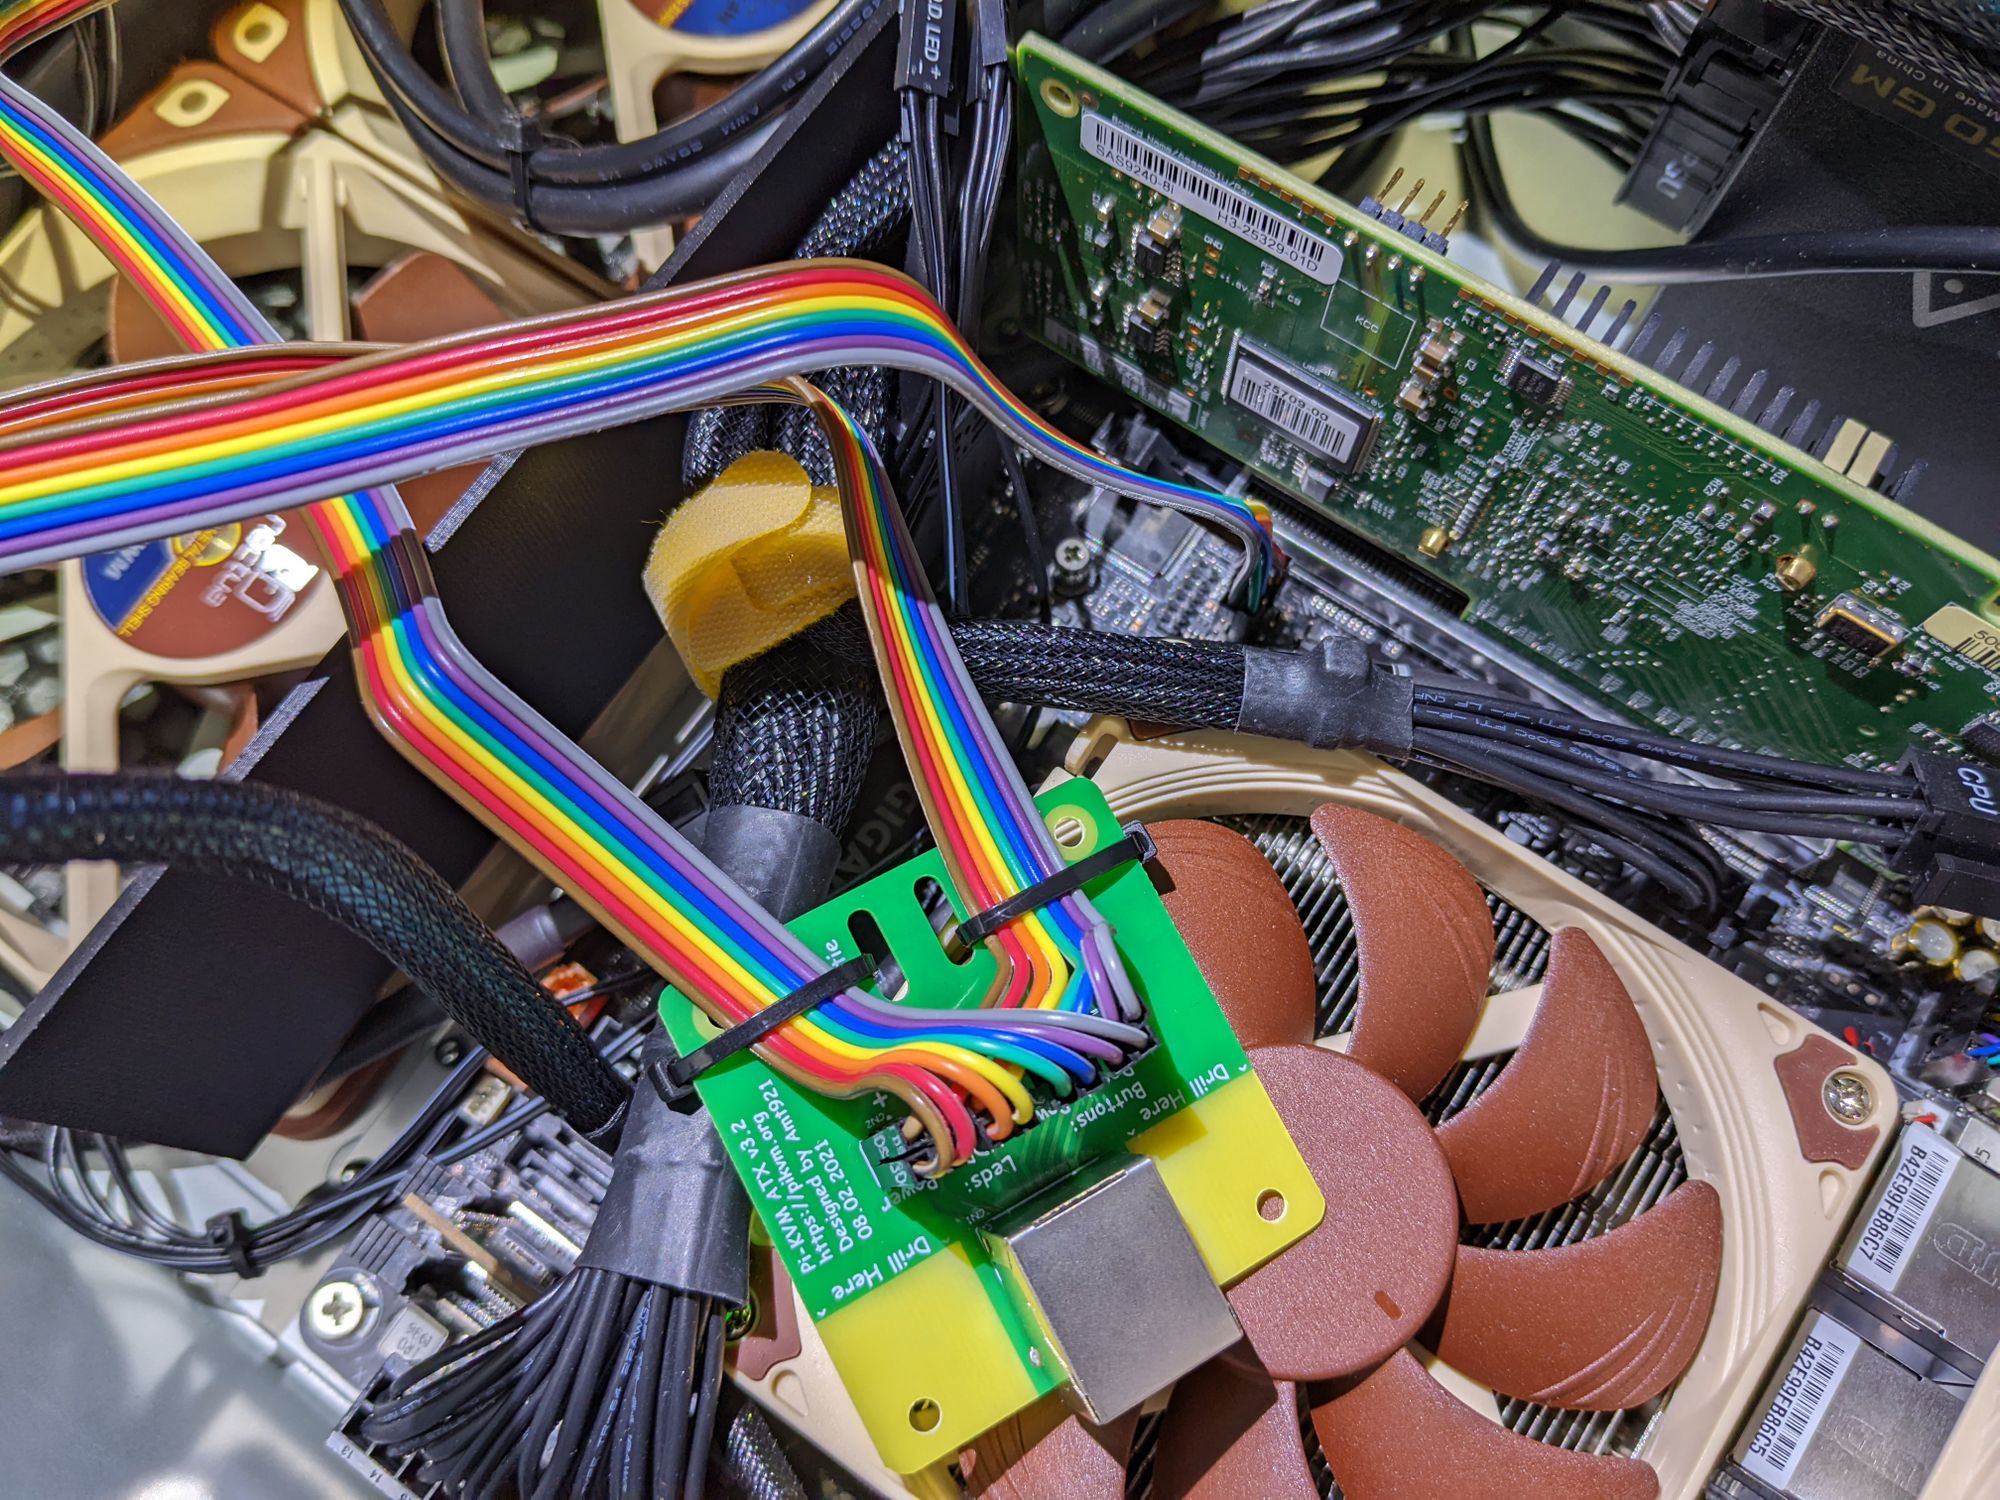
But lazy as I am I did not want to solder anything. I ordered the version with the raspberry pi hat (the actual PiKVM), ATX power board to turn on, off and reset your PC/server and a neat steel case.
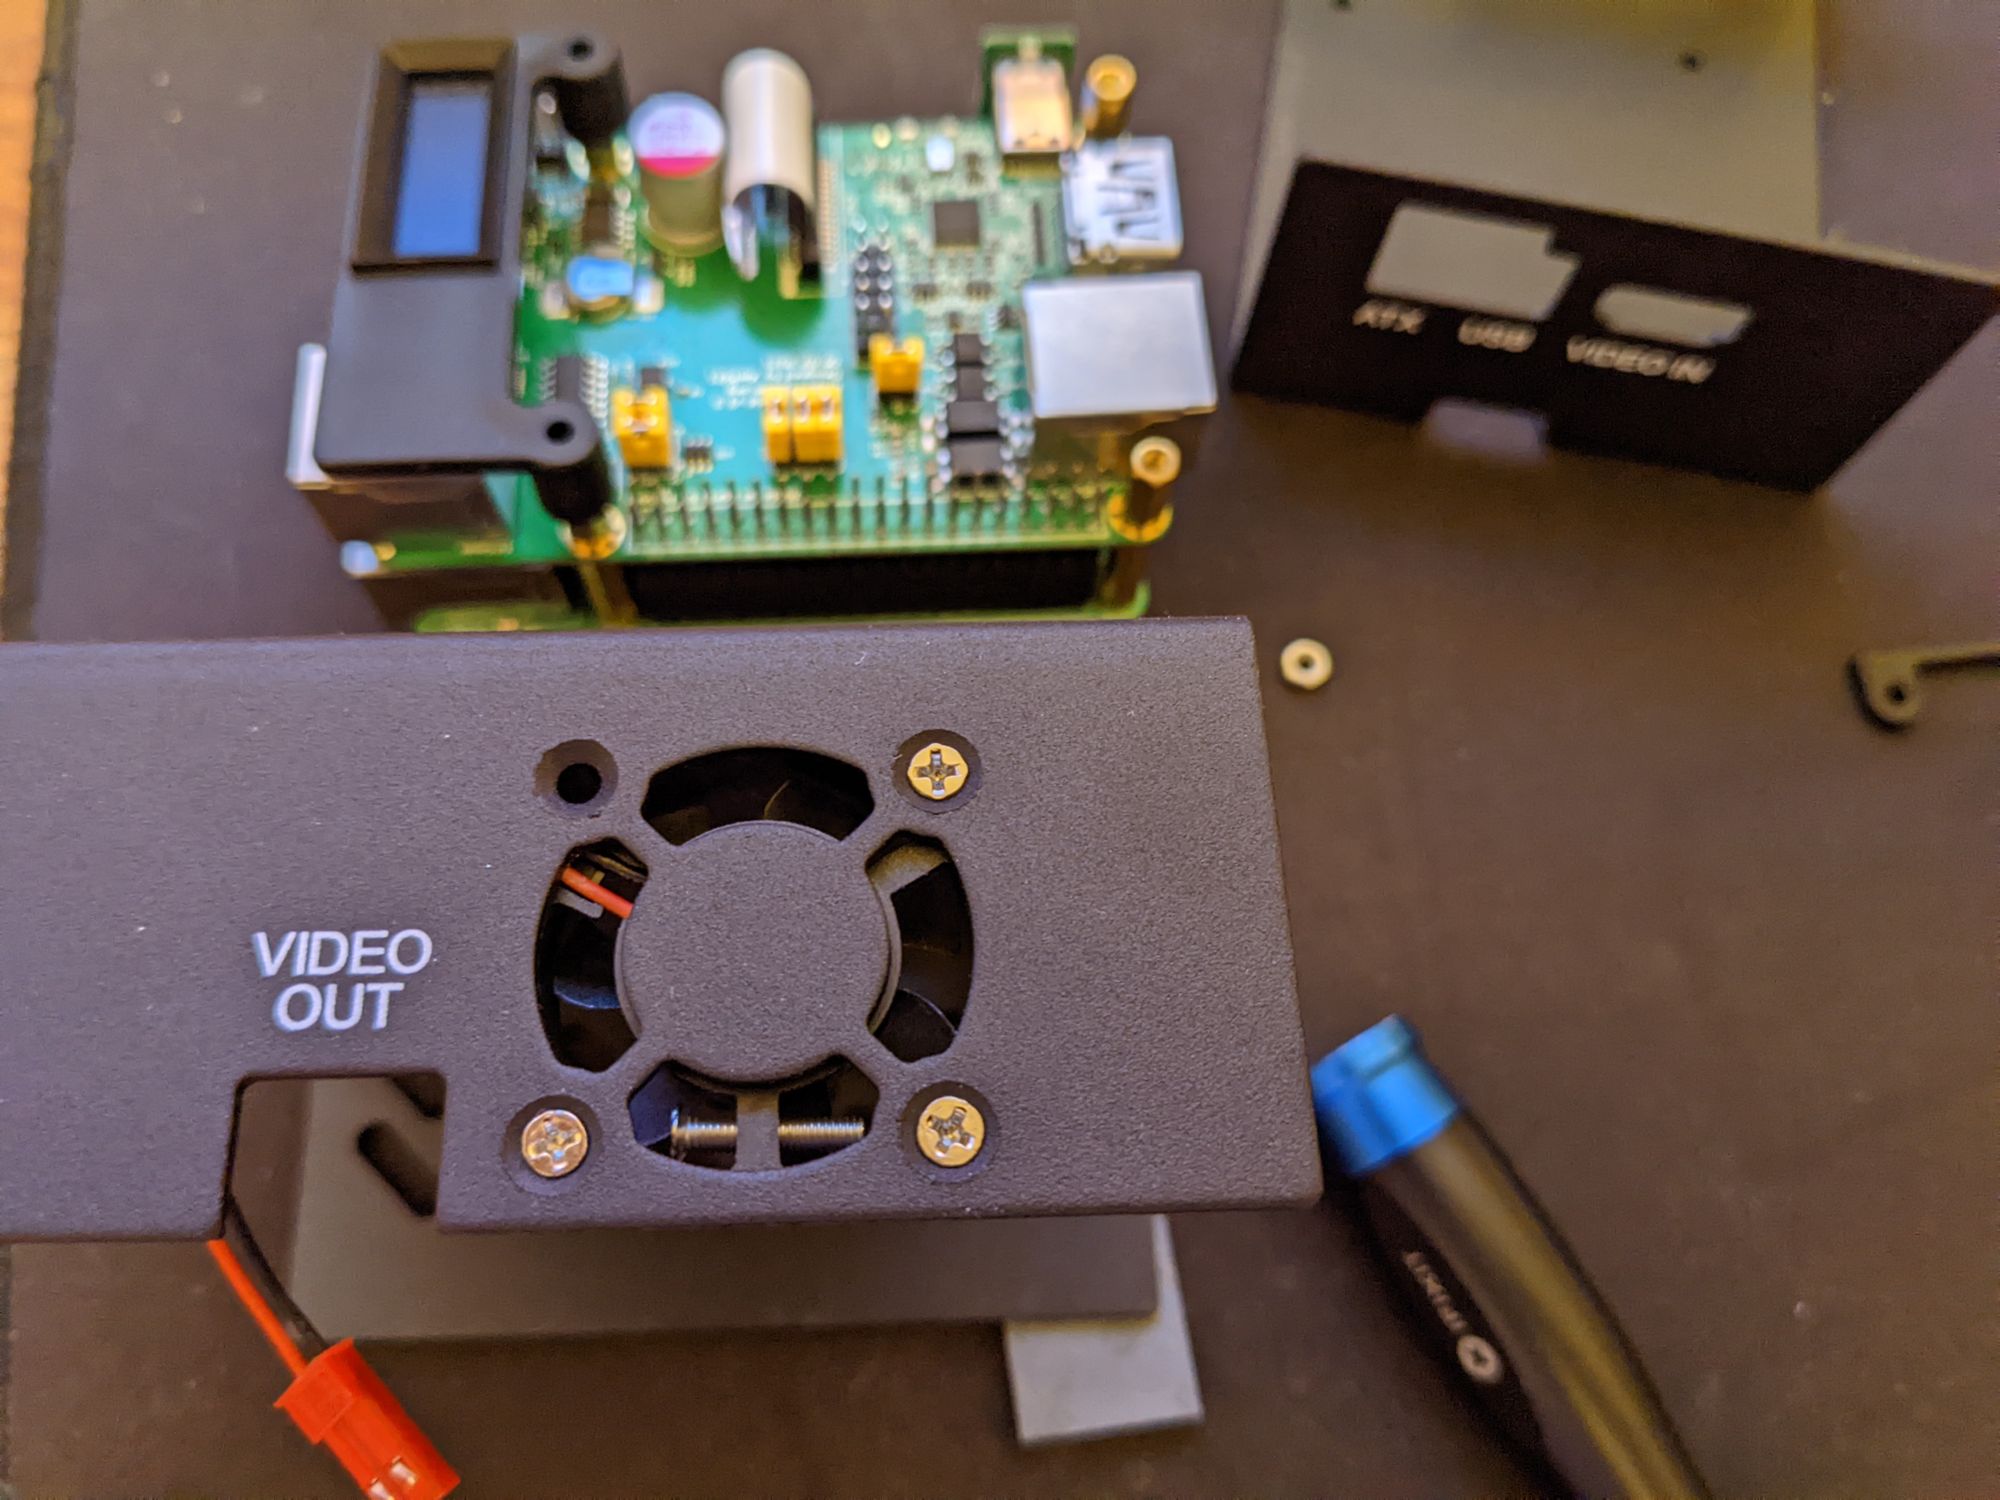
Here are some pictures from the assembly:
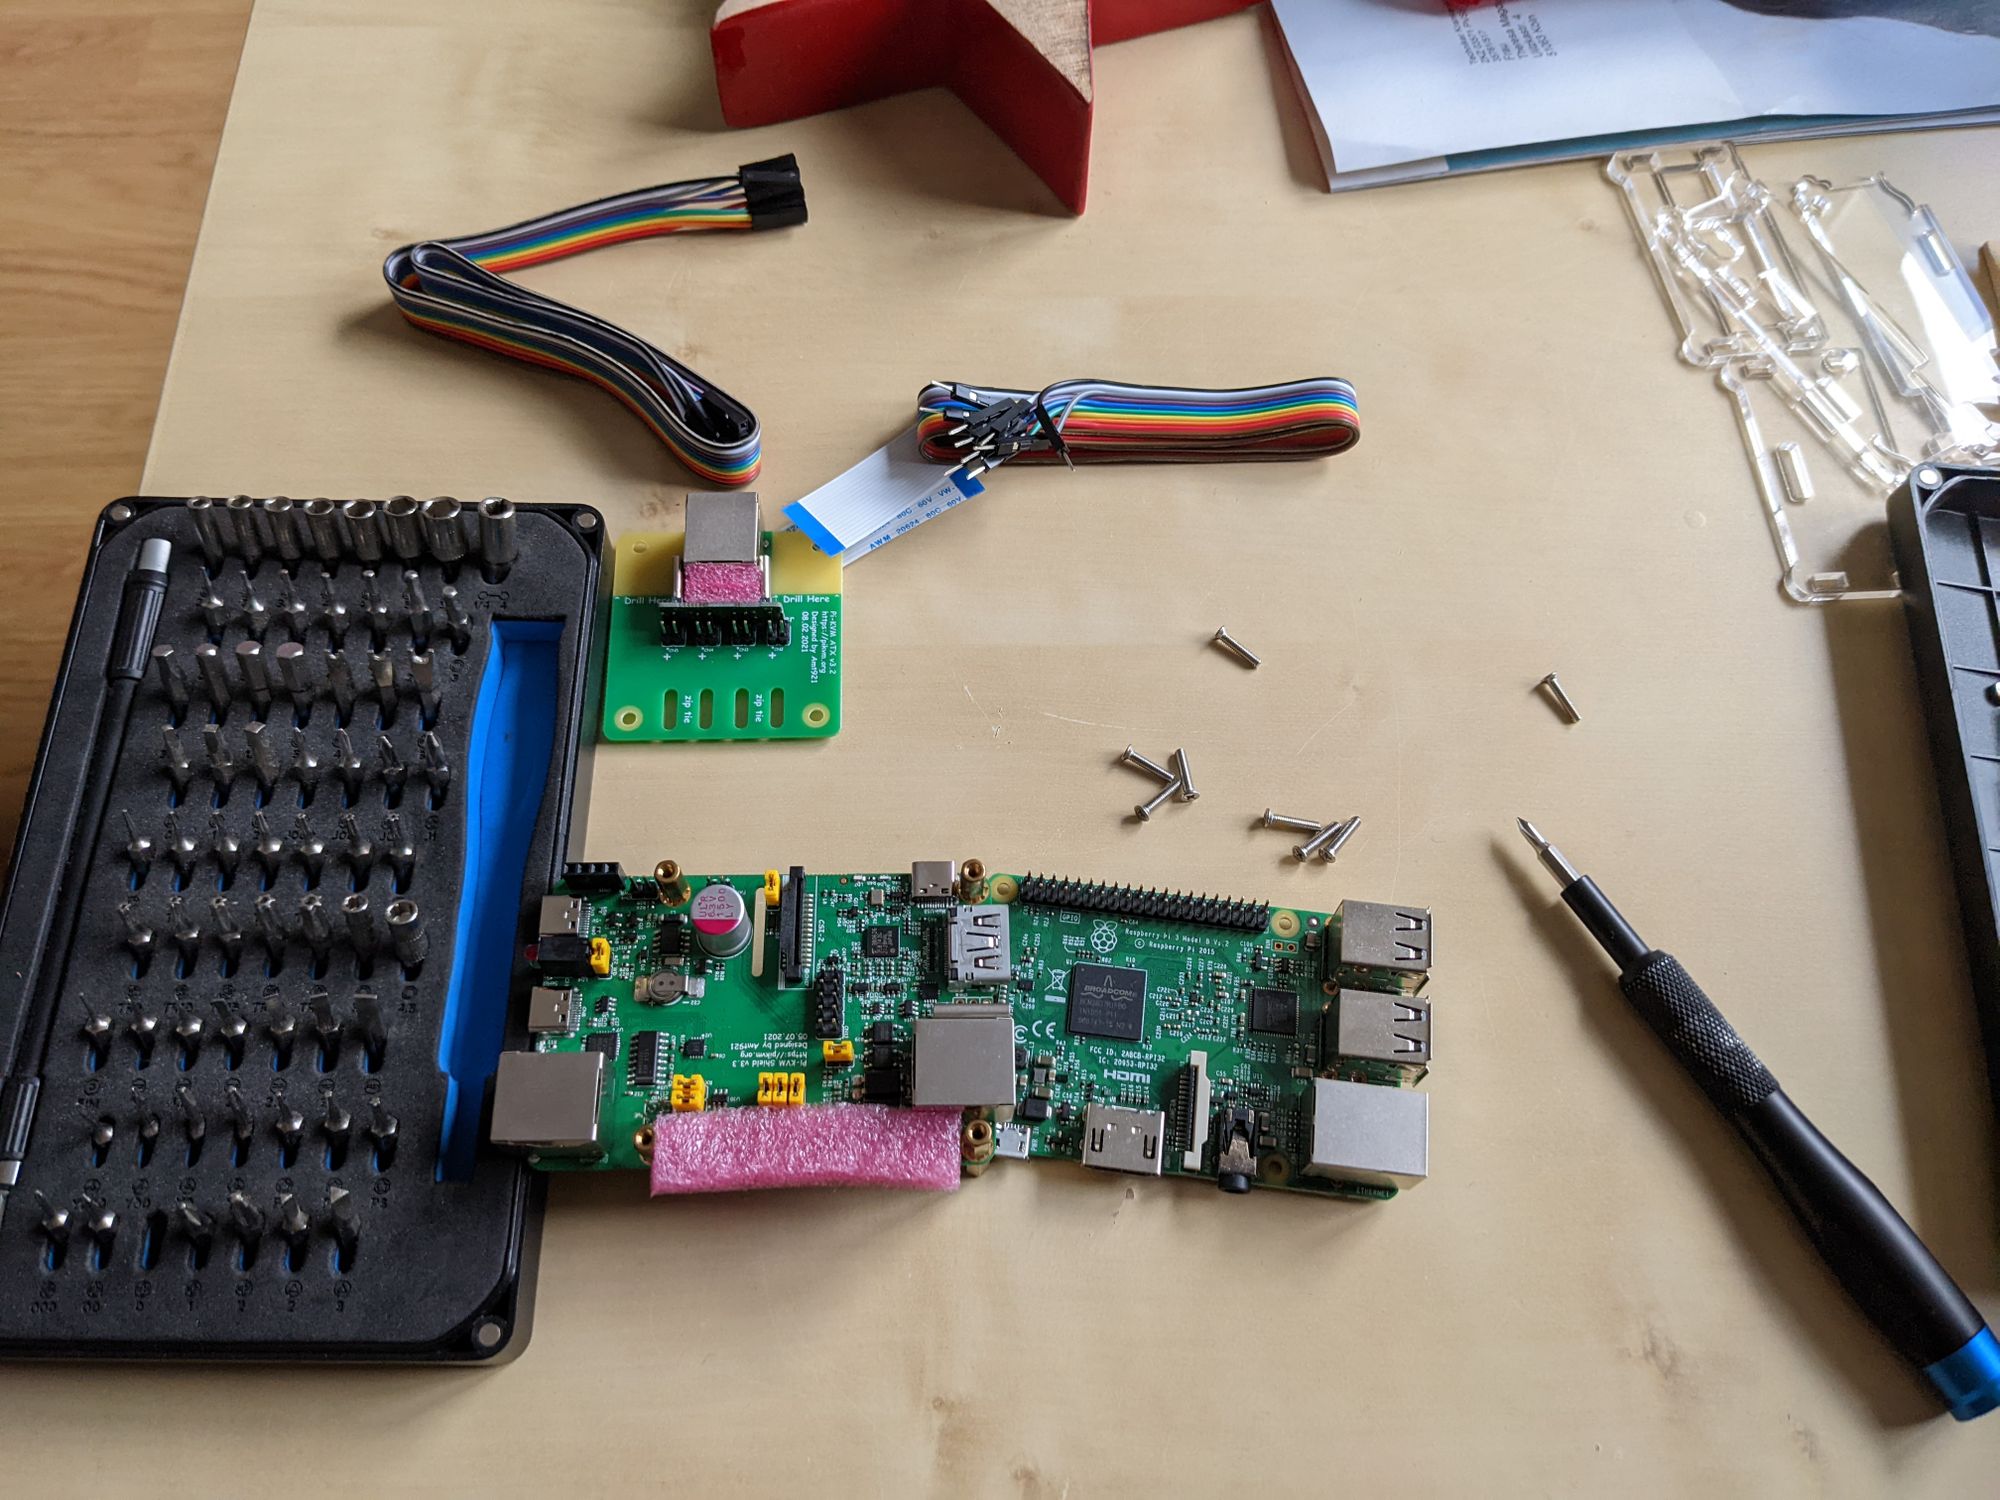
The assembly was not too bad. Except that I lost one of the fan screws for my second PiKVM:
Already were checking the floor in my office and after 20 minutes I found this guy sitting IN the PiKVM. Hiding between the case and the fan itself.
Anyway. There is also a pretty good assembly video by the PiKVM creator:
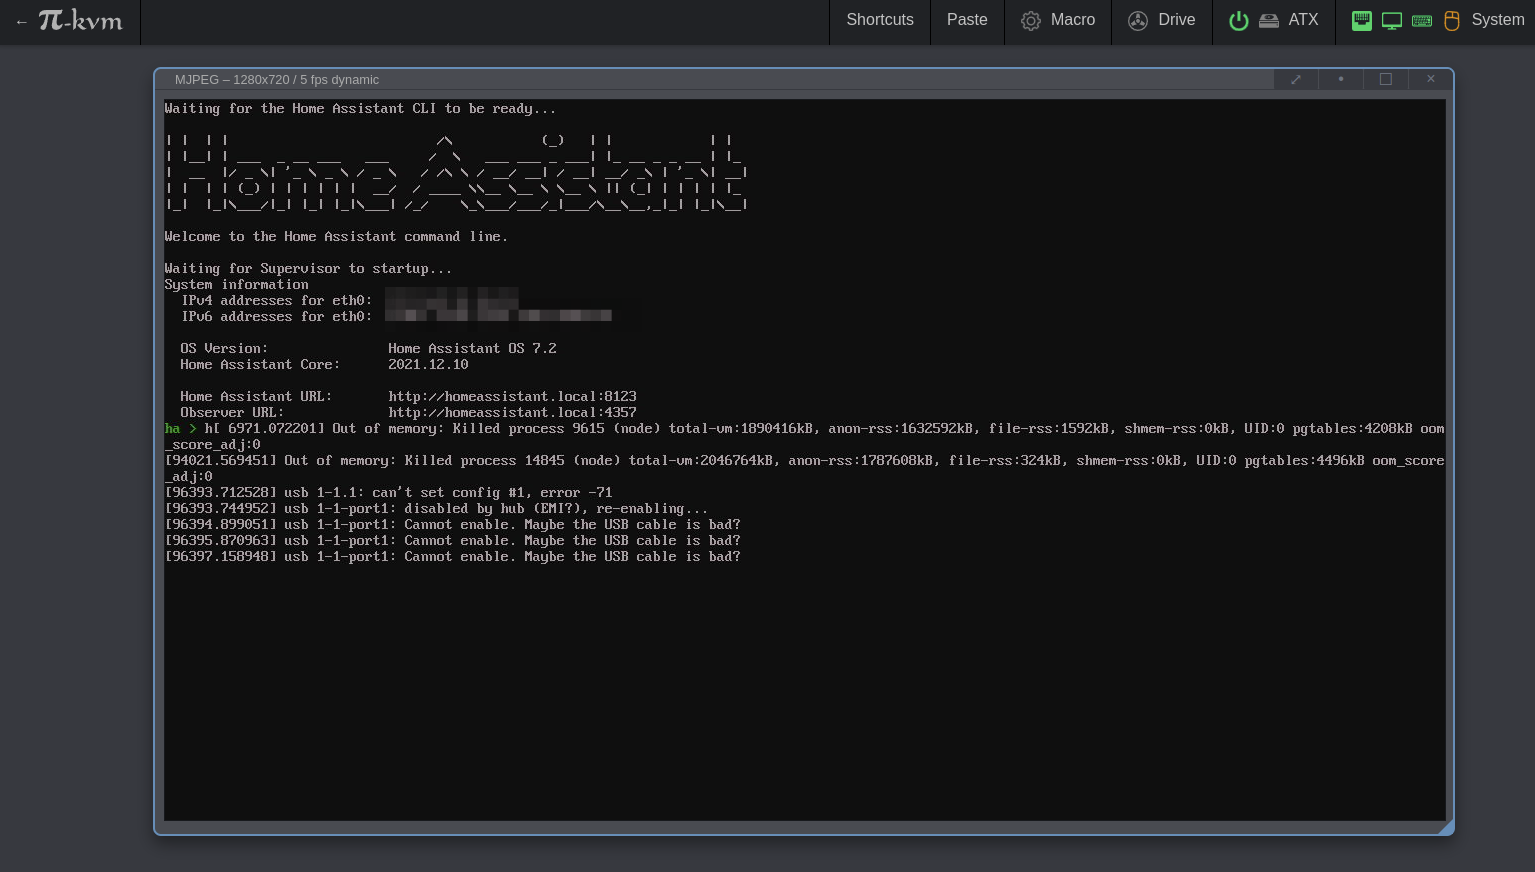
Installation of the PiKVM operating system
That was pretty easy almost straightforward. You just have to follow the PiKVM Handbook.
Despite flashing I had to activate the OLED screen and the fan with a couple of commands. Other than that I was ready to go.
Using the PiKVM
Man, this thing is soo cool!
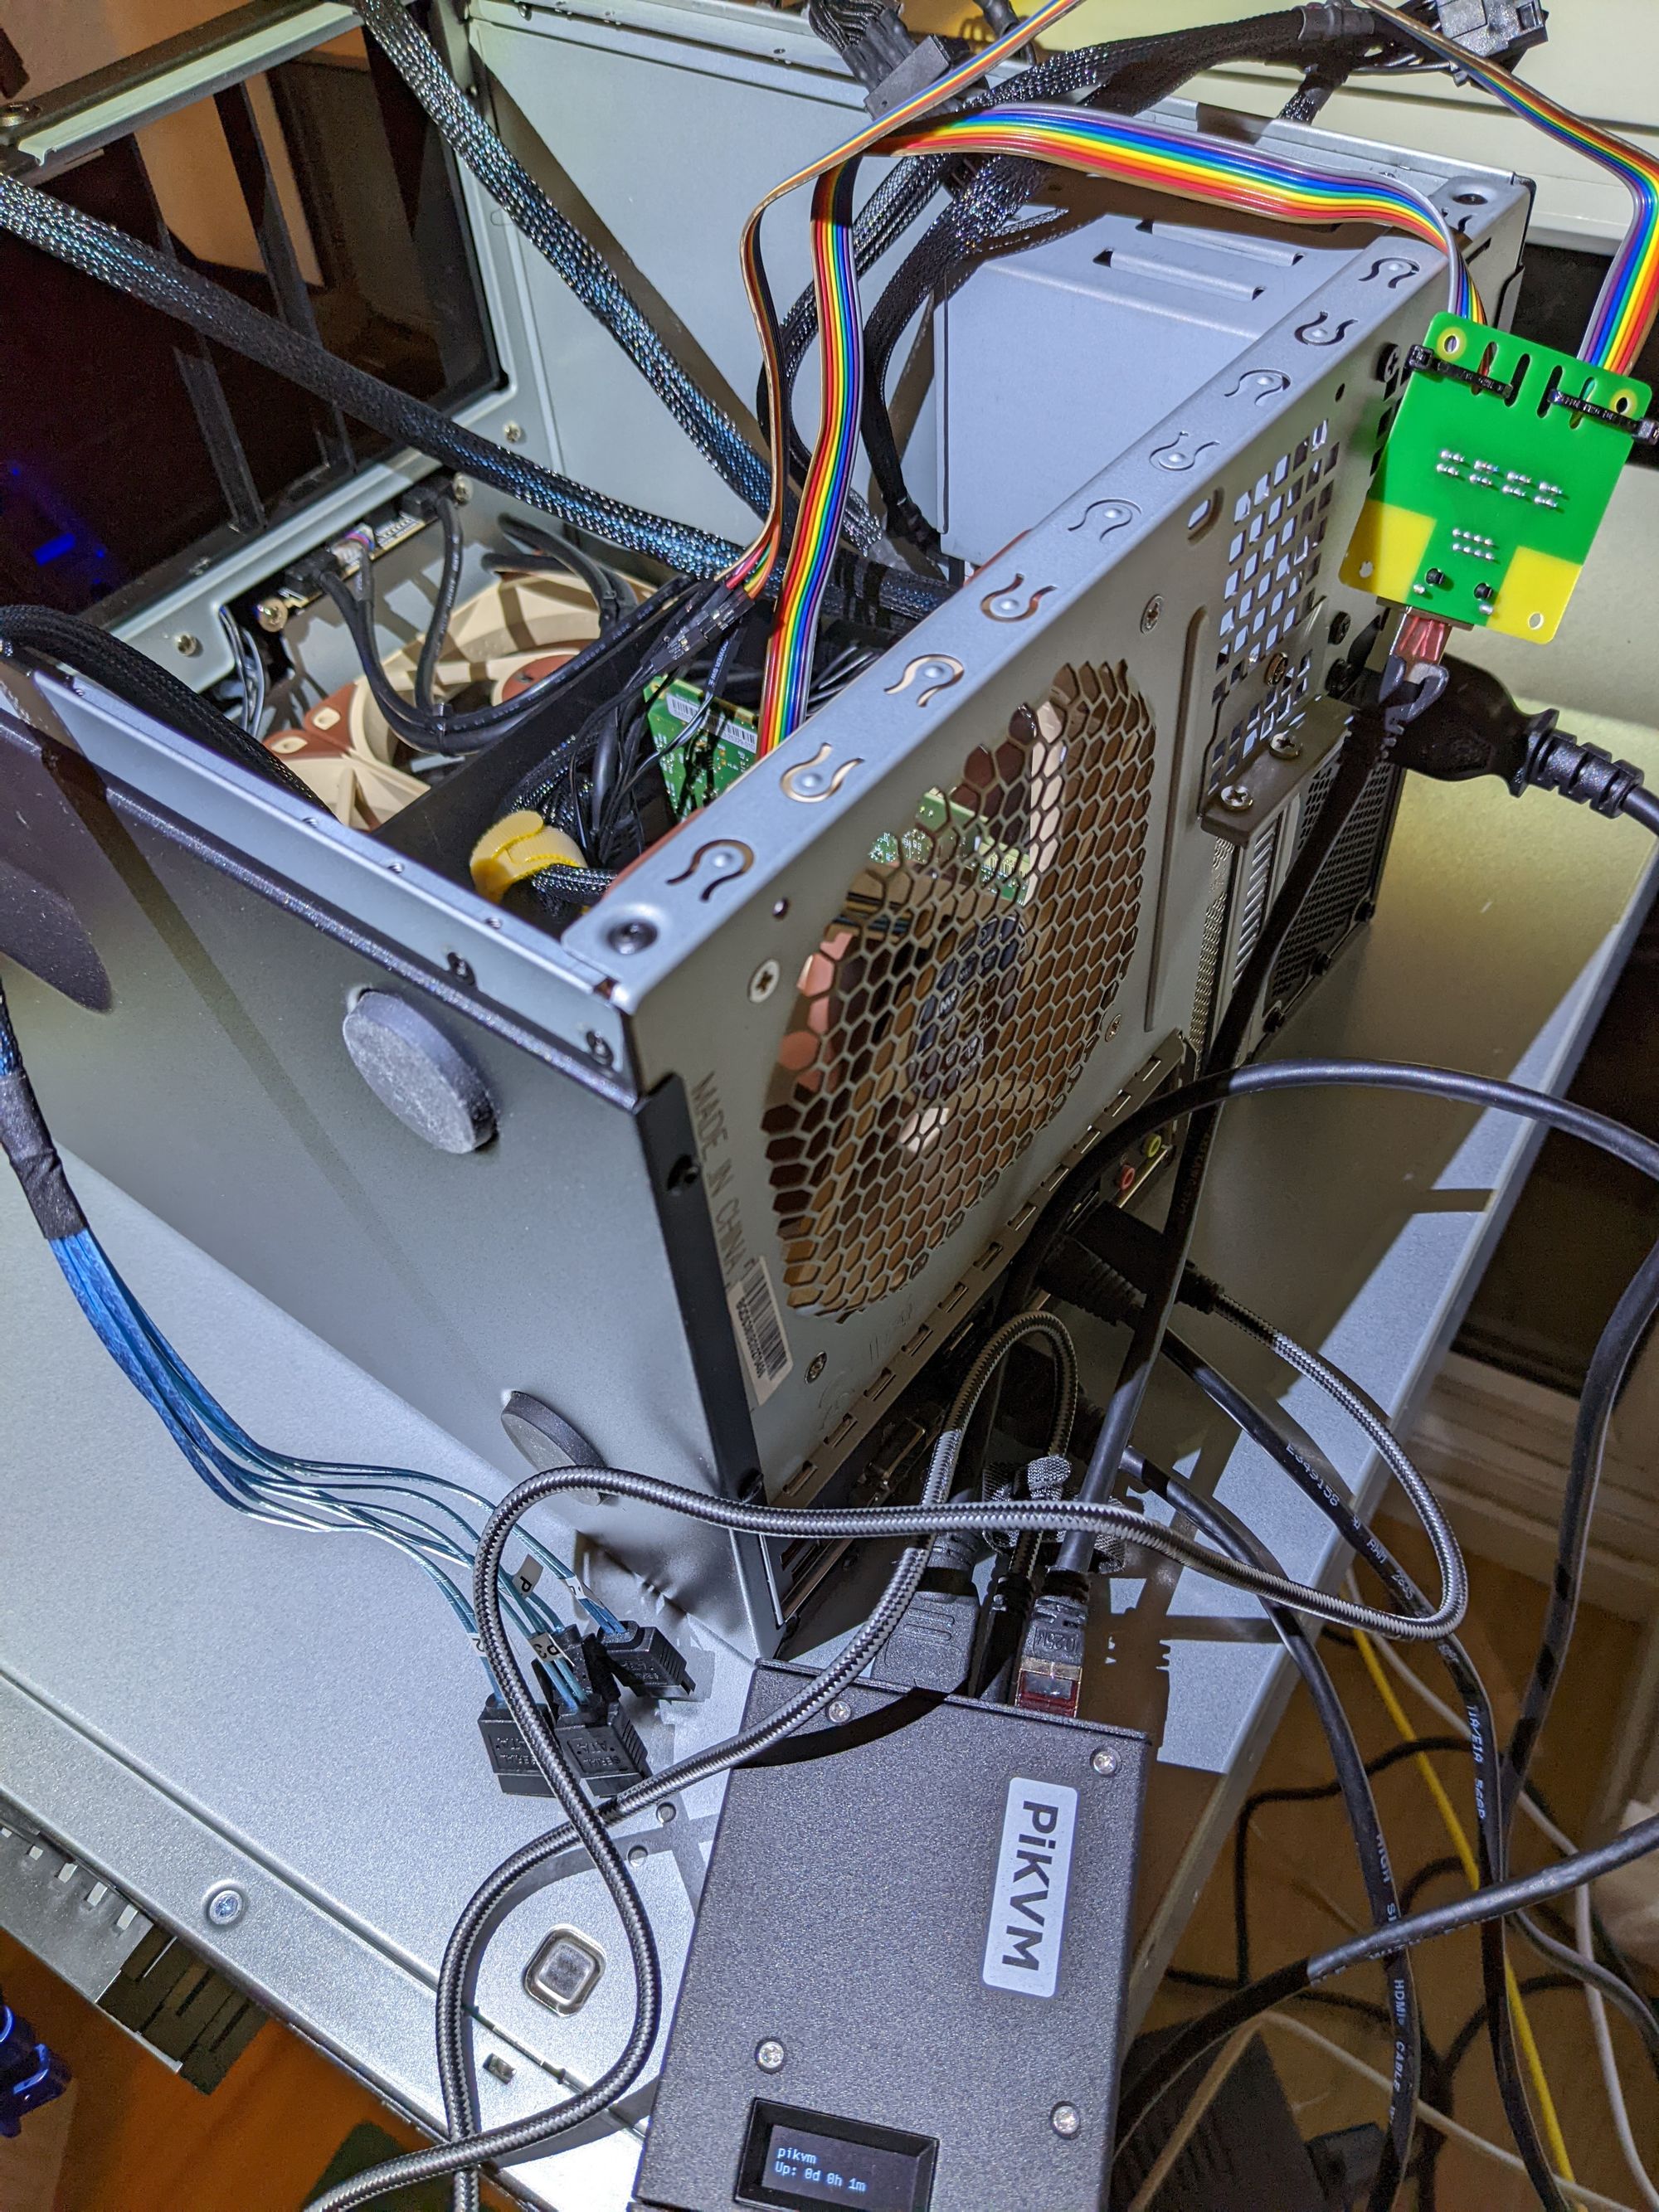
I hooked it up to my soon DIY NAS.
- Plugged in the USB cable for mouse and keyboard control
- plugged in the HDMI cable for video
- Plugged in the pins for power, reset, HDD and Power LED
and was ready to go:
Then I just could connect to my DIY NAS without bringing up a monitor, mouse and keyboard! Just type pikvm into your browser and you will be asked to log in. Username and password are mentioned in the PiKVM Handbook (please change the default one!).
What blows my mind is also the ability to just boot from an image you can upload to the PiKVM:
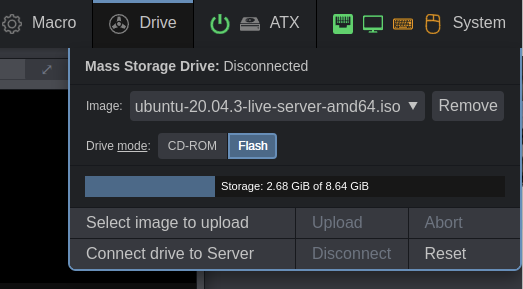
Upload your favorite Linux distro or several from your PC or even from URL and have it ready to boot any time. You do not need to fiddle with USB stick anymore. This is so cool. If your system fails you immediately have the possibility to start the PC/server/NAS with a live image and can have a look around.
How cool is that?
The ATX board
In order to power off, on and reset your PC/server you can just plug everything into the ATX board. But where to mount this board now?
They have a 3D printable bracket for a PCI slot! How cool is that?
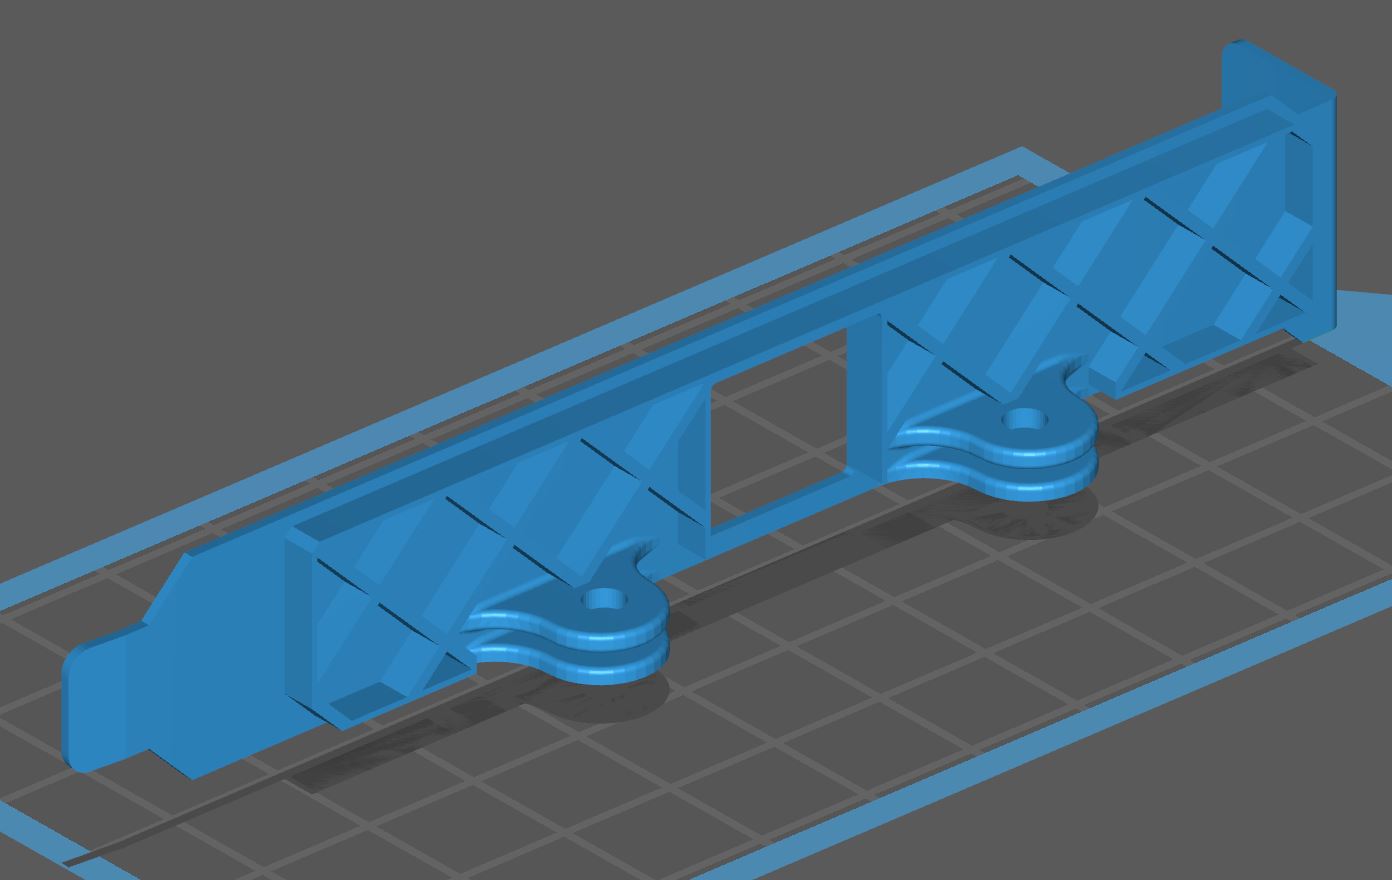
A friend of mine is printing that for me since I do not want to sink my time with 3D printing yet (also the lack of space is preventing me to buy a printer right now).
If you do not want to use the PCI brackets you can also just use a zip tie somewhere.
What I do not like about the PiKVM
Definitely the update/upgrade process. The system is based on Arch Linux. That means you can always update the system with:
rw
pacman -Syu
reboot
ro
The problem is, you could end up in a broken state because, Arch. What happens when you do not update the PiKVM for a while? You could break your install.
You can always download a new PiKVM image if you broke you installation, but that means again to go through the setup.
- changing the default password
- setup the oled and fan
- upload your typical iso
- change some setting in the GUI
For me this is a device I do not want to log in too often and update it. I would like to let the device take care of that task so I do not need to. But hey, that is just me.
If at least a there was a way to preserve a generic set of changes you did, that would be great.
Conclusion
Despite the update mechanism, this is a really cool and useful device.
You can just send one to your not so tech savvy friends, family, etc. and can help troubleshoot problem way easier. No remote management software like team viewer needed. Also the device itself does not even need internet. Just your PiKVM needs internet.
You can control your devices at home or remote ease in a affordable manner. A dream come true for every home lab enthusiast and self hoster
Big thanks to the creators of PiKVM!
If you missed the Kickstart you can order one in one of the different shops, depending on where you live: https://pikvm.org/buy/

PiKVM
A very simple and fully functional Raspberry Pi-based KVM over IP that you can make with your own hands without any soldering!
This device helps to manage servers or workstations remotely, regardless of the health of the operating system or whether one is installed. You can fix any problem, configure the BIOS, and even reinstall the OS using the virtual CD-ROM or Flash Drive.
That is it for now. I wish you a great day!