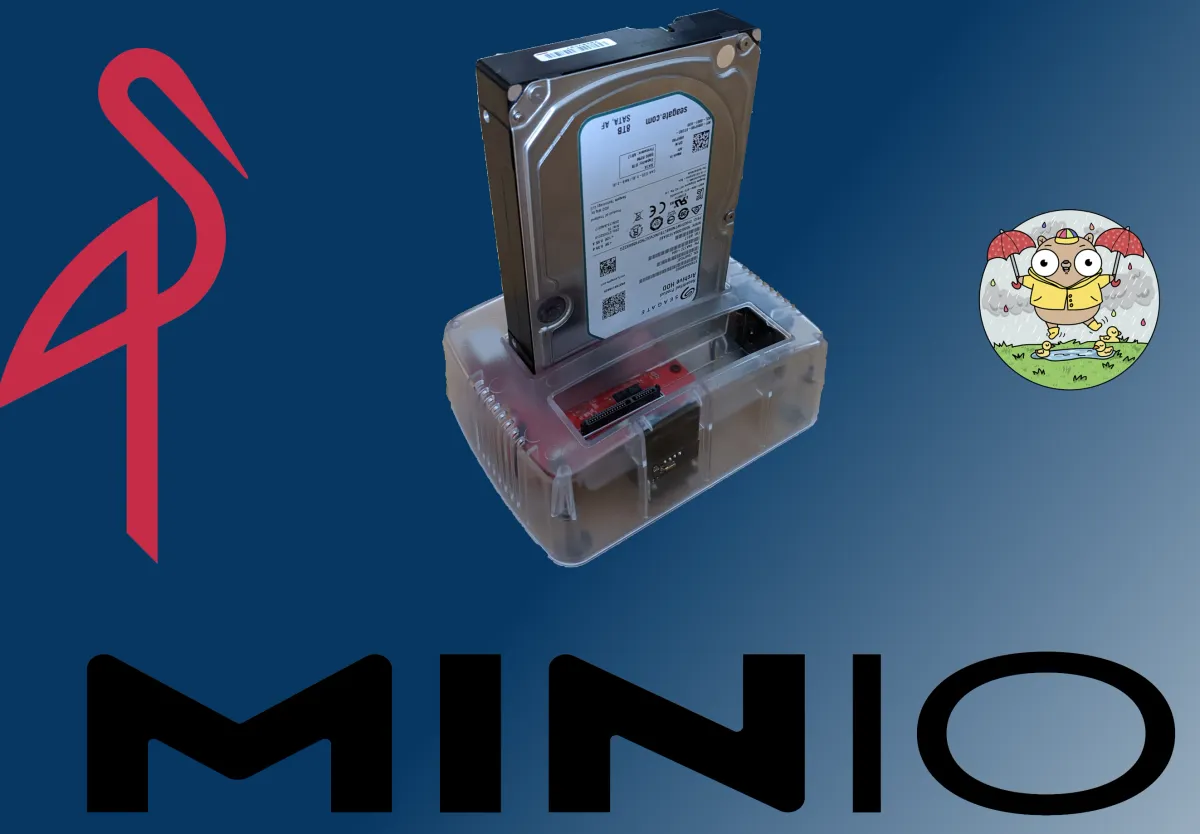
Odroid HC4 - The Perfect Backup NAS with MINIO S3 and restic
How to run Minio S3 on the Odroid HC4 and use it for backups with restic.

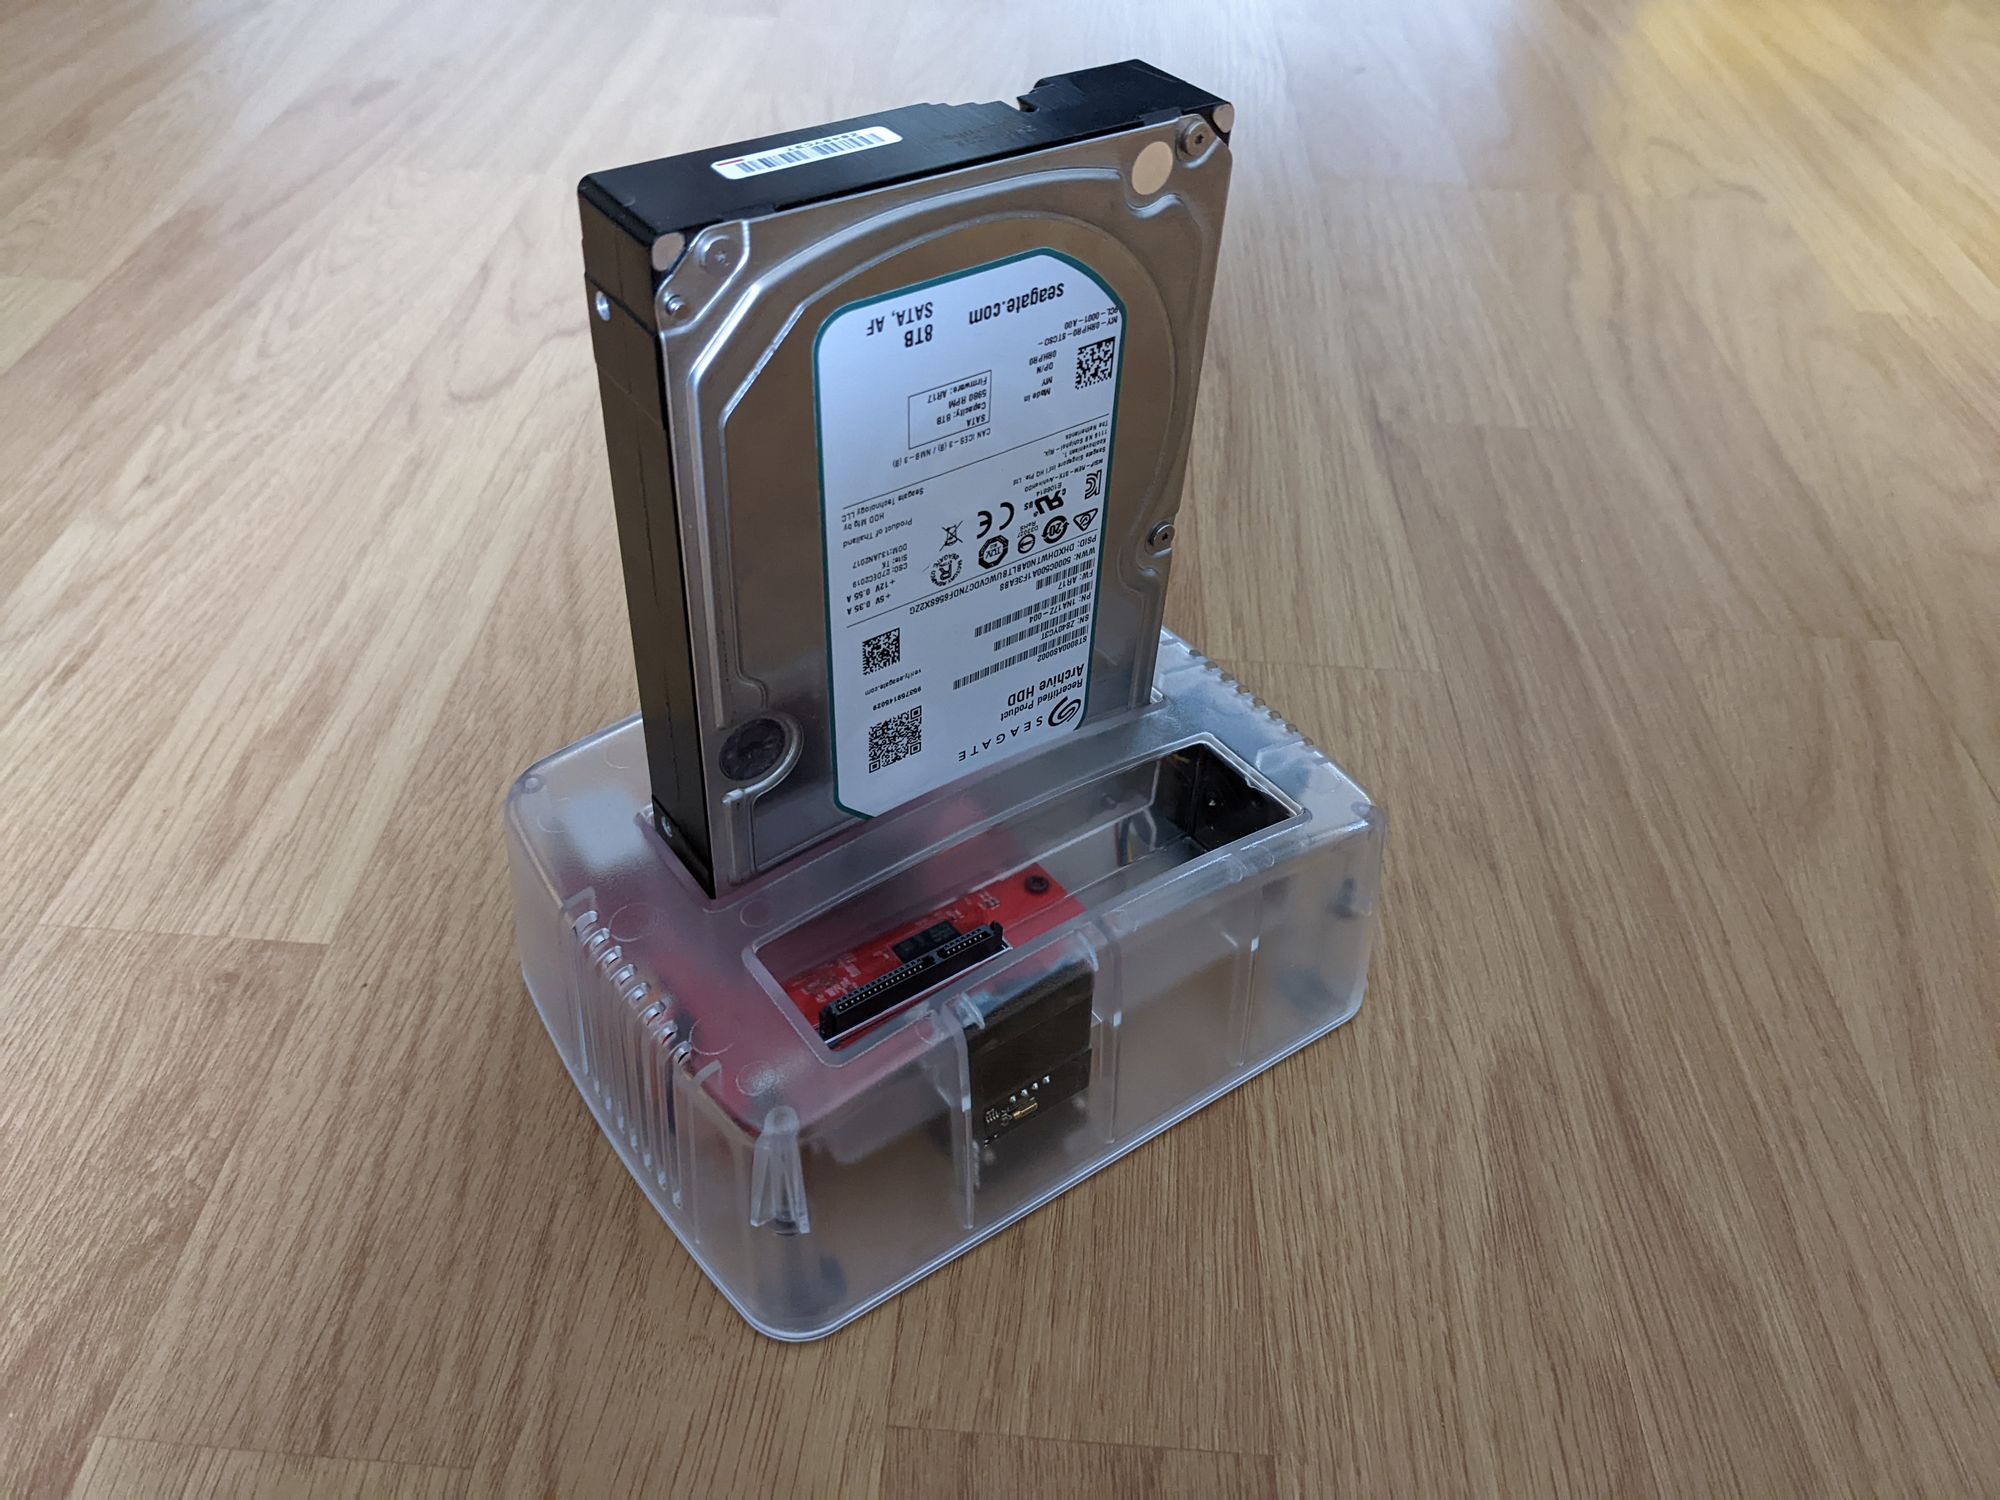
I got myself an Odroid HC4 as an affordable backup device. It is a pretty nifty device and a reason to play 👾 with ARMBIAN, MINIO, and restic. So here we go!
Currently, this thing is running with armbian with a headless setup since I do not need a desktop. This is managed with Ansible, but this is not the topic of this post. This time I will just show my basic MINIO S3 and restic setup.
Minio Setup with docker-compose
First of all. My HDDs are formatted with BTRFS. I want to expand it later on with another disk in raid 1. BTRFS is pretty flexible in this regard. You can just add and remove to your RAID anytime.
The BTRFS filesystem is mounted at /data. There I just create a folder for my Minio setup: mkdir -p /data/docker/minio/data. The docker folder will hold all my docker-compose things and each application will have its folder. In that folder, I always place a data folder for databases, configs, and whatnot for the docker setup.
In there we have and .env and a docker-compose.yaml file with the following content:
The MINIO web interface is available at <YOUR-MINIO-IP>:9001. Just log in with the password you have provided via the .env file.
Mino configuration
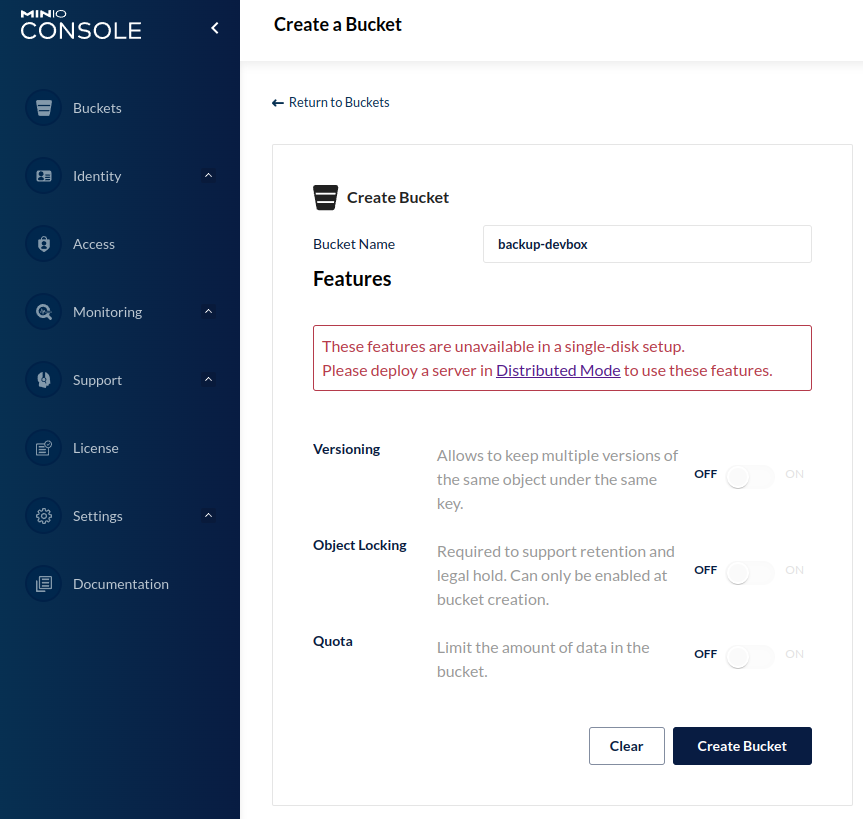
Now we have to create a bucket in order to have a backup target. For that, I recommend creating separate buckets and users with separate access rights for each device you want to use this for. Luckily this is pretty easy with MINIO.
Start with creating a bucket. Mine is named backup-devbox for my desktop PC. Just create with a name, no more options need to be taken care of:
Now let's create a policy that allows ListBucket, PutObject, DeleteObject, GetObject Actions on this specific resource (bucket) only. Use this config and adjust your bucket name under the Resource object:
{
    "Version": "2012-10-17",
    "Statement": [
        {
            "Effect": "Allow",
            "Action": [
                "s3:ListBucket",
                "s3:PutObject",
                "s3:DeleteObject",
                "s3:GetObject"
            ],
            "Resource": [
                "arn:aws:s3:::backup-devbox/*"
            ]
        }
    ]
}
Under Access, you can create a policy.
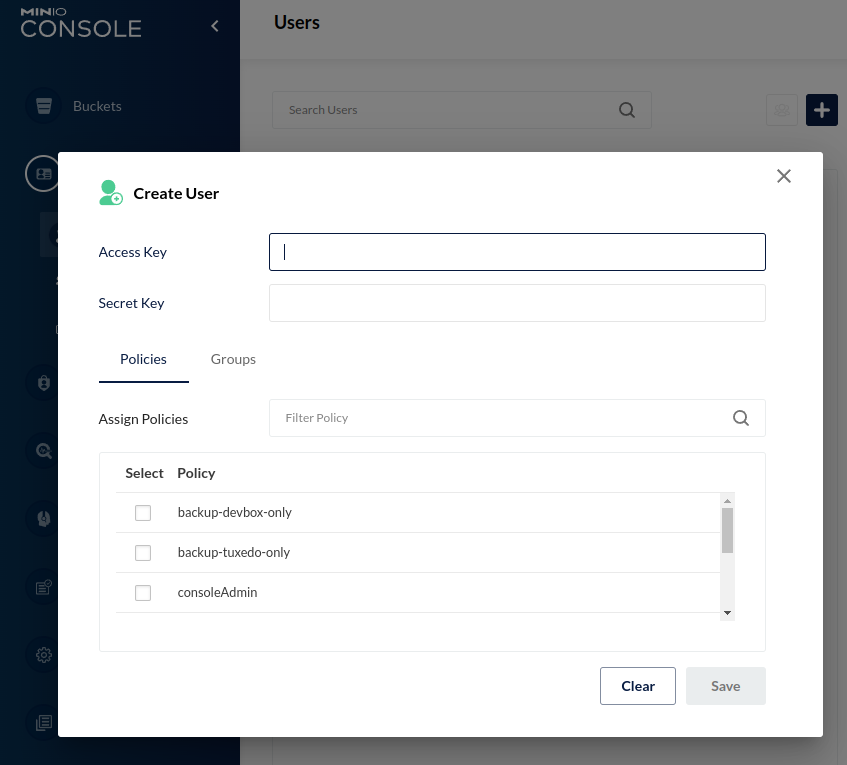
Now we need a user who is used for the restic client. You can create a user on the Identity tab.
Create yourself an Access Key and Secret Key. Both should be secret values that you can easily create with your password manager.
Now pick you policy you just have created and save it.
That should be it for the Minio setup. Let's continue with the restic side of things.
restic setup
If you want to know more about restic check out the restic home page. For now, it is just a small binary program (just a file) that can back up your files (incrementally) VERY, VERY fast without the need to install a server component. The files are encrypted, deduplicated, and RTM 📑😉.
Everything is handled by the client. That means you do not need any server-side software. Minio is just offering us S3 as one of the compatible places to store your files. You could even store your backup on an internal or external drive or AWS S3. I do not want to keep plugging and unplugging my disk all the time, therefore we are going with Minio S3.
Anyway, let's start the restic config.
restic config
I have created a restic folder in my home: mkdir -p $HOME/restic for my secrets and config files.
Start by creating your $HOME/restic/.env file:
export RESTIC_REPOSITORY="s3:http://<YOUR-MINIO-IP>:9000/backup-devbox"
export AWS_ACCESS_KEY_ID=""
export AWS_SECRET_ACCESS_KEY=""
export RESTIC_PASSWORD=""
The AWS_ACCESS_KEY_ID and AWS_SECRET_ACCESS_KEY might be confusing because there is no AWS in this case but that is how S3 things are often called in CLI tools. Just use the already created user credentials from before for the specific backup user.
The RESTIC_PASSWORD on the other hand, is a new one. Create a secure password in your password manager and do not lose this! This is the encryption password for your backups. If you lose this, you can not access your backups anymore.
Now you need to source this in your shell. For zsh you can just put a
source $HOME/restic/.envto your ~/.zshrc. That way you do not need to source them every time you want to back up your files.
Handling file you do not want to back up - so exclude
Another handy feature is the exclude file. I have removed my downloads folder and a few other folders I found in some online examples. That decreases the backup size by a bit for me. I always have some images for Linux distros or the Odroid and Raspberry Pi in my download folder. Something I really do not need a backup for. Here is an example of my exclude file, adjust to your liking and operating system:
# Caches
$HOME/**/Cache
$HOME/**/.cache
$HOME/**/__pycache__

# Trash
$HOME/.local/share/Trash

# Cache of IMAP messages
$HOME/.thunderbird/*/ImapMail

# Node Package Manager cache
$HOME/.npm

# Downloads
$HOME/Downloads

# YouTube Music Desktop Player

$HOME/.config/youtube-music-desktop-app/*
$HOME/restic/exclude file for resticThere are also other handy exclude command-line flags like --exclude-caches which will exclude some commonly known caches on Unix file systems. Have a look here and adjust it to your liking.
Initialize the repository
Now the config part is almost over. The last step is to initialize a repository with this command:
restic -r s3:http://192.168.10.125:9000/backup-tuxedo initThis will create some metadata files in the S3 bucket which you can see on the Minio web interface. Only needs to be done once.
Using restic
Now comes the fun part. The backup, said no one ever! But still here is now the backup command:
restic backup /home --exclude-caches --exclude-file $HOME/restic/excludeTaking incremental backups is just insanely fast. Just processed 76 GiB and uploaded around 900Mib in just 3:38 over WiFi on my Laptop. It is just fast.
Files:       12385 new,   998 changed, 1501951 unmodified
Dirs:         3130 new,   893 changed, 292201 unmodified
Added to the repo: 900.284 MiB

processed 1515334 files, 76.807 GiB in 3:28
snapshot d4abed99 saved
With that small amount of time restic needs to create backups, you can easily just create a cron or systemd-timer which does backups every hour or even less.
For now, manual backups are okay for me
Now have fun and play with restic. I sure will do this myself as well. Not super comfortable yet but the command-line interface does not look complex which is GOOD for a backup program.
What are you using for your backups?
Do you even do backups? 😉
Let me know!
Have a great day!